Setting up an Azure SQL database is easy and fast, but you might bump into some problems connecting to it. I’ll share a couple of tools that you can use, and what pittfalls to avoid.
Client tools
Azure Data Studio
As a cross platform tool, Azure Data Studio allows you to query SQLServer based databases, store and group connections and much more in the same shell as Visual Studio Code. You can download it here.
SQLServer Management Studio
All-round query tool for Windows, with lots of supported add-on that extend the functionality like RedGate SQLPrompt. Can connect to all kind of SQLServer technologies, like Analysis Service (multidimensional and tabular), PowerBI datasets, Reporting and Integration Services, Azure SQL database and plain-old SQLServer. You can download it here.
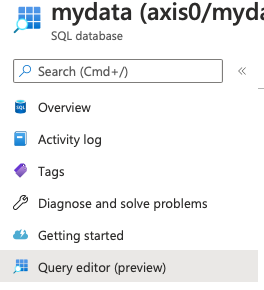
Portal Query Editor
If you really only need to briefly check something in the database and are already in the Azure portal, you can use the integrated Query Editor.
You will be presented with a login and password screen (or alternatively, if you assigned an administrator from AD, you can use that login).
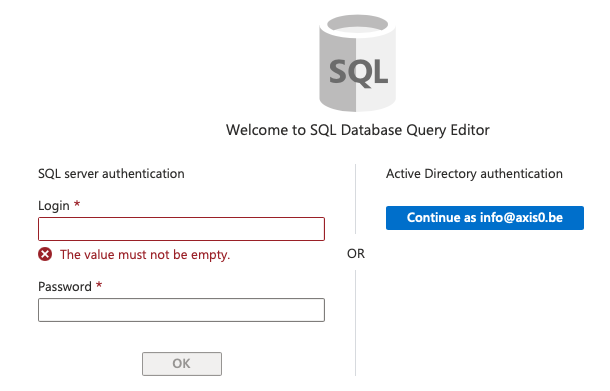
You can use the server admin you created when setting up the database. If you forgot the password, go here to see how to reset it.
This query client allows you to issue SQL statements and browse tables, views and stored procedures in the editor. A lot of other functionality of SQLServer is not available here, and you can also not specify to connect to a different server or database.
Connection problems
Firewall rules
Public Access
This is a huge topic in itself, where you could configure the server to be on a private endpoint, specific virtual networks or publicly accessible. When you didn’t enable any networking during configuration, you will probably get an error while connecting:
Reason: An instance-specific error occurred while establishing a connection to SQL Server. Connection was denied since Deny Public Network Access is set to Yes.So, on server level go to Networking and set the Public access to Specific Networks

Client IP
The next error you might come across is:
Cannot open server 'axis0' requested by the login. Client with IP address '141.135.161.125' is not allowed to access the server.Even from the Query editor you will get this error. So, not even selecting “Allow Azure Services to connect” will fix this. You will have to add a firewall rule that allows your client IP to be allowed on the gateway. This can be done here
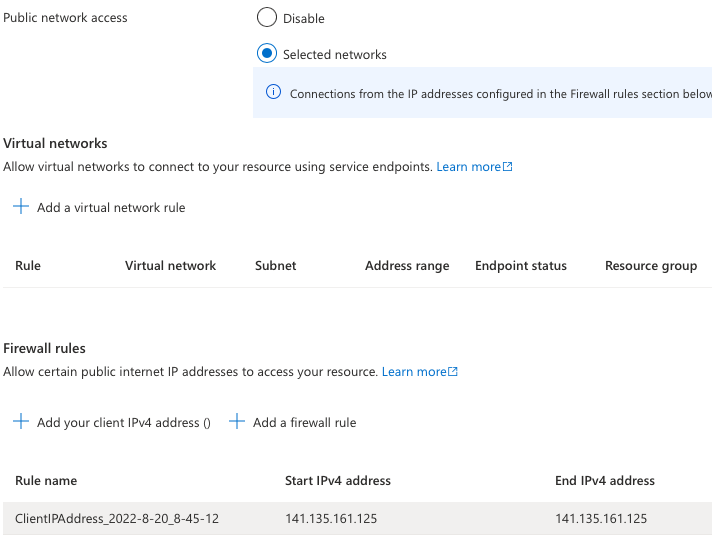
Make sure to press Save.
Login setup
When you connect with the server administrator account, you will normally not come across access issues. But when you create a new account, there is a bit of configuration to do.
Create the Login
Access to a sqlserver server is given through a login. It’s the name and password you use to connect to the server. Note I said server and not database. It has to exist and without it, you cannot get access to your database either.
To access a database, you need to create a user. A user is mapped to a login. You can gives permissions to a user in a database, but that doesn’t affect any other permissions in other databases. Having only a user will not allow you to “login” to the server, as you need a login for that.
The most basis setup is the following. In master, create the login
CREATE LOGIN appuser WITH PASSWORD = 'xxxxx'You now created the login. To access a databases on that server, you’ll switch to the database and create the user:
CREATE USER appuserThe syntax can be more detailed, as you normally specify a FOR LOGIN clause, but if the name is the same SQLServer will create the user for the same login. Now give it some rights in the database
EXEC sp_addrolemember 'db_owner', 'appuser'As member of this role, your user can do anything in the database. Explore the different roles in case you want to give more restricted access to new users.